Ready for some seriously cute Valentine's Day nails? This year, square nails are the perfect canvas for showcasing romantic nail art. This guide will walk you through creating gorgeous designs, and, equally important, removing them safely. We'll cover trendy designs, step-by-step application, safe acrylic removal, and essential nail health tips. Let's get started!
Choosing Your Perfect Valentine's Day Nail Art
Square nails offer incredible versatility for Valentine's Day designs. To help you choose the perfect look, consider these styles:
- Romantic & Subtle: Soft pinks, reds, delicate florals, or a tiny, elegant heart create a sophisticated look. Think understated elegance.
- Fun & Flirty: Bright colors, cute patterns, sparkly embellishments (tiny hearts, glitter), and playful designs express your personality.
- Glamorous & Bold: Shimmering glitter, metallic accents, and dazzling rhinestones make a statement, perfect for a special occasion.
Consider these design examples:
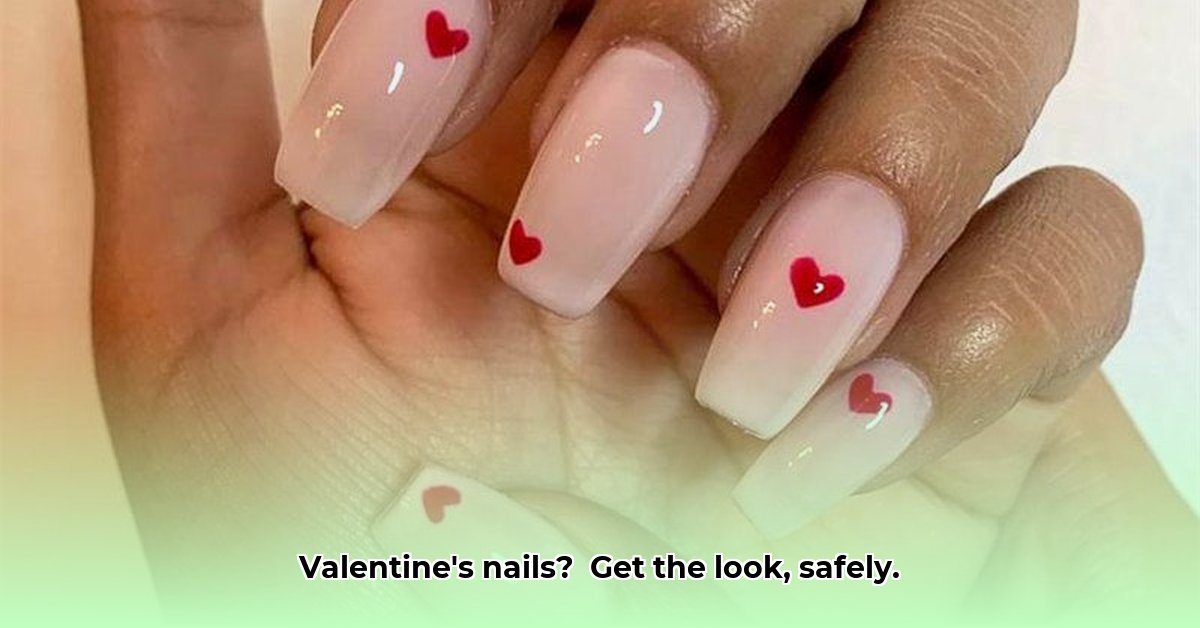
- Minimalist: A single, perfectly painted heart in a soft pink shade on a neutral base. Elegant and simple.
- Playful: Bright red with tiny embedded hearts and a touch of glamorous glitter. Fun and festive.
- Glamorous: Stunning silver glitter with carefully placed rhinestone hearts. A real showstopper.
Color palettes play a vital role. Classic reds and pinks are always a hit, but consider rose gold, burgundy, or deep purple for a unique romantic touch.
Creating Your Valentine's Day Masterpiece: A Step-by-Step Guide
Let's create those gorgeous nails!
Step 1: Preparation is Key: Start with clean, dry nails. Gently push back your cuticles using a cuticle pusher. This prevents ragged edges and ensures a flawless finish.
Step 2: Protective Base Coat: Apply a thin, even layer of base coat. This protects your nails from staining and improves polish adhesion. Allow complete drying before proceeding.
Step 3: Base Color Application: Apply two thin coats of your chosen nail polish color. Thin coats dry faster and avoid bubbles. Allow each coat to dry completely.
Step 4: Nail Art Time!: Now for the fun part! Use nail stickers, stamping tools, or freehand painting to create your Valentine's Day design. Take your time for a professional-looking result.
Step 5: Sealing with Top Coat: Finish with a generous top coat. This protects your design, adds shine, and extends the manicure's lifespan.
Safe Acrylic Removal: Protecting Your Natural Nails
Improper acrylic removal can severely damage your nails. While tempting to do it yourself, professional removal is always safest. Professionals know how to gently remove acrylics without causing damage.
If you must remove acrylics at home (proceed with extreme caution!):
- Soak: Soak your nails in 100% pure acetone for 45-60 minutes. This softens the acrylic, making removal easier. Never trim your nails before soaking.
- Gently Remove: Use an orangewood stick or cuticle pusher to gently remove the softened acrylic. Avoid harsh scraping or peeling.
- Moisturize: Apply cuticle oil and hand lotion to rehydrate and nourish your nails after removal.
Important: If you struggle, stop immediately and seek professional help. Damaging your natural nails is far more costly than getting a professional removal.
Maintaining Nail Health: Long-Term Care
Healthy nails are beautiful nails! Follow these tips for long-term nail health:
- Take Breaks: Avoid wearing artificial nails continuously. Let your natural nails breathe and recover.
- Hydration is Key: Use cuticle oil regularly to prevent dryness and cracking.
- Strengthening Treatments: Consider using a nail strengthener to prevent breakage and brittleness.
- Healthy Diet: A balanced diet rich in vitamins and minerals supports strong, healthy nails.
Remember, the best Valentine's Day nail look is one that you love and that keeps your nails healthy and happy. Happy Valentine's Day!